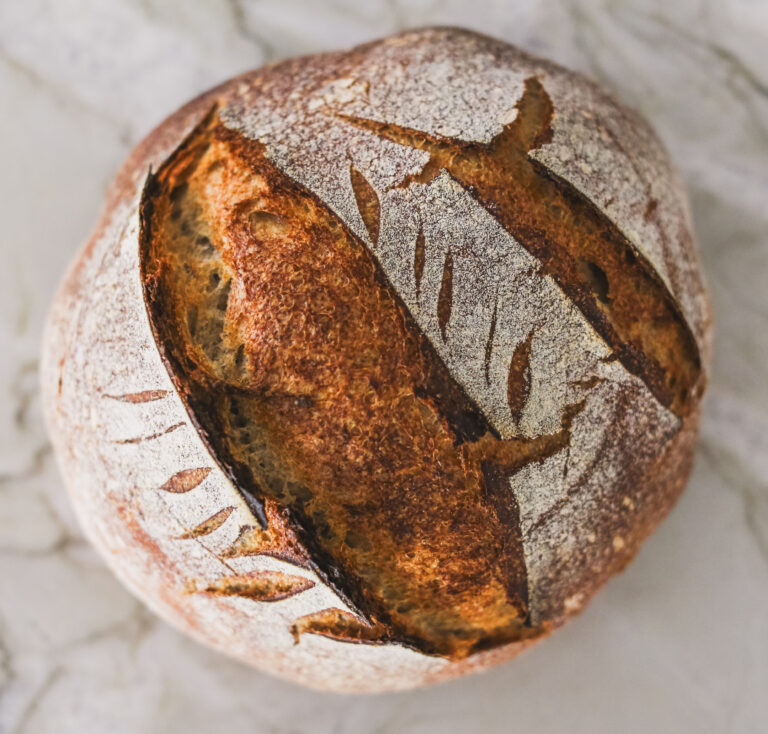
The BEST Sourdough Discard Quiche Crust
One of the best parts of making sourdough is the endless experimentation with recipes using the starter discard. This quiche crust recipe is a prime example of how versatile sourdough discard can be. The result is a crust that’s buttery, flaky, and rich, bursting with flavor. I like to use this crust as the base for both sweet and savory pies.
A perfect pie crust should be crisp and tender, yet sturdy enough to hold up to juicy fruits or creamy custard fillings without turning chewy or soggy. This recipe hits all those marks, elevating your baking to the next level. The tangy flavor you get from the discard is like nothing else. It’s important to note that active sourdough starter will have a milder flavor than discard that’s been kept in the fridge for weeks, but both will work.


Be sure to tag me if you make this recipe and show me what you filled it with!
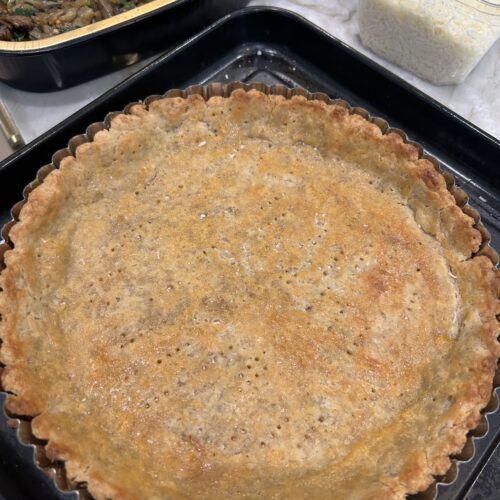
Sourdough Discard Quiche Crust
Ingredients
- 280 grams all purpose flour
- 1.5 Tbsp sugar
- 1.5 tsp. salt
- 340 grams unsalted butter chilled!
- 340 grams sourdough discard cold
Instructions
- Add flour, sugar, and salt to the bowl of the food processor. Pulse to combine.
- Scatter slices of butter over the top of the flour mixture; Pulse until the butter breaks up into small pea size chunks.
- Pour the sourdough starter over the top of the flour/butter mixture. Pulse until the mixture just starts to clump together a bit, but is still crumbly. The dough should feel like it will stay together if you pinch it with your fingers.
- Dump the dough crumbles out onto pastry board or lightly floured countertop.
- Using your hands, quickly work the dough together into one big mass. It should stick together pretty easily. The less time your hands touch the dough the better because of your body warmth.
- Divide the dough into two equal pieces. Shape the pieces into flattened discs and wrap in plastic wrap.
- Put the discs of pie dough in the refrigerator to rest for an hour or up to overnight before rolling out for pies if you have time. If not, you can use right away.
- To freeze, place the plastic-wrapped discs in a freezer bag and store in the freezer for up to 3 months. If freezing, defrost dough in the refrigerator overnight. For best results, use pie dough within 24 hours of refrigerating or defrosting the dough.
